
Last Updated on November 7, 2021 by Guillermina
Today we’re going to be looking at how to make a boutonniere with ribbon. Boutonnieres are often seen at most weddings, and they can become quite pricey – especially if you need a large volume of them. So why not try making them yourself? Not only will it save money, but it also adds a real personal touch to your wedding.
Some boutonnieres can cost over $25 each, and you can make your own for a fraction of the price. But how’s the best way to do it? Let’s take a look.
What Is A Boutonniere?
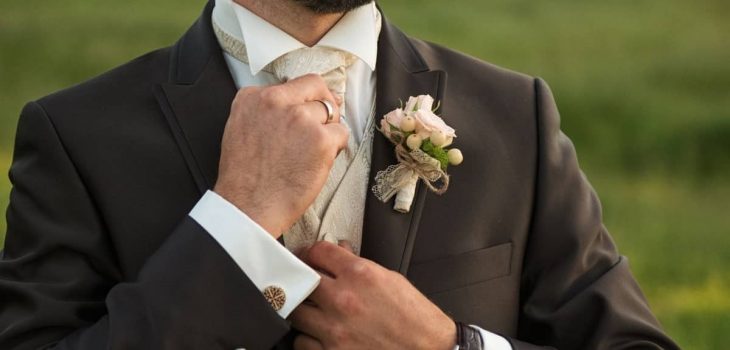
Firstly, you may not even know what a boutonniere is! I’ll be honest, before my own wedding, I had no idea. You may know boutonnieres better as buttonholes. A boutonniere is a small spray of flowers that go inside the buttonhole. It’s typically a single flower of bud, but it’s becoming more common to have one or two small flowers, with a few small pieces of greenery.

Boutonniere DIY – Making Your Own
Making a boutonniere couldn’t be easier! Blooms by the Box have a fantastic tutorial on DIY Grooms and Groomsmen Boutonnieres. This is what we’ll be taking a look at today. Before we get into the tutorial, it’s important to note that the stems in this tutorial are just a guide – you can choose any flowers and greenery that you desire.
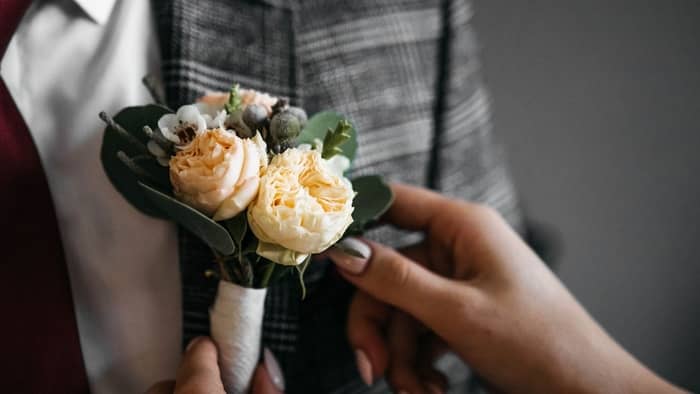
Groom’s Boutonniere
The first part of the tutorial is the groom. The grooms should be different to his groomsmen so he’s easy to pick out from the crowd! For the groom’s boutonniere, you’ll need:
- 1 stem of Freedom Rose
- 2 stems of Pittosporum
- Two stems of Eucalyptus
- 2 stems of Thistle Eryngium
- Floral Tape
- Ribbon
- Straight Pins
- Boutonniere Pins
- Floral Scissors
- Paring Knife
Once you have all of the equipment, you won’t have to spend any more money, and it can easily be reused at other occasions. Here’s a step-by-step guide for making your groom’s boutonniere:
- Get your Freedom Rose stem (or another flower of choice) and cut; leaving around 3-4 inches of stem. Pinch the bloom when doing so.
- Cut the Pittosporum stem the same length as above and arrange them together.
- Grab your thistle and add to the arrangement. Hold stems in place when you’re happy.
- Cut small pieces of the Eucalyptus and integrate them within the other stems.
- Hold them together and begin wrapping with the floral tape just under the rose bloom. Be sure to tape downwards and leave around a third of the stem on show at the bottom.
- Trim the bottom of the stems with floral scissors.
- Choose your ribbon (should be 5/8″ in width) and cut to around 8 inches.
- Hold the ribbon where the floral tape starts, just under the bloom and pin in place. Repeat until the floral tape can not be seen and the ribbon is on full display.
- Use a pin to secure the ribbon into place – your groom’s boutonniere is complete!
Groomsmen’s Boutonniere
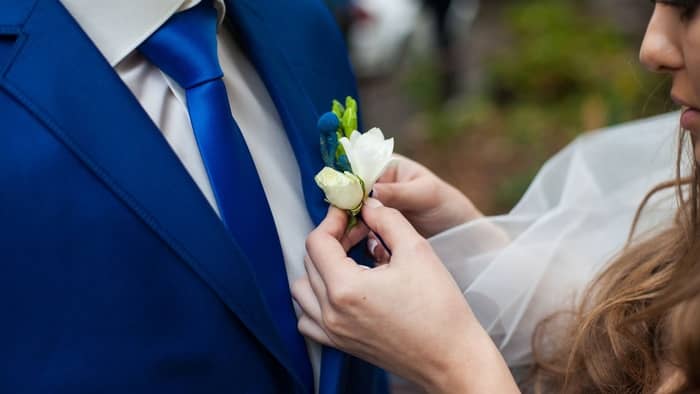
Next, you’ll want to be making the boutonniere’s for the groomsmen. You’ll be needing very similar equipment and following many of the same steps – but it’s very important that the final product looks different enough to the groom’s, but close enough to match…it’s a very fine line!
The equipment you’ll need is:
- Two stems of Red Hypericum
- 2 stems of cut Thistle Eryngium
- 2 stems of Pittosporum
- Floral Tape
- Ribbon
- Straight Pins
- Boutonniere Pins
- Floral Scissors
- Paring Knife
And let’s take a look at how to make them! Here’s how:
- Cut both stems of the Hypericum, leaving 3-4″ of stem, as before.
- Cut the Thistle stems the same length as the Hypericum and arrange both flowers together.
- Grab the Pittosporum and arrange behind the Hypericum and hold tightly.
- Use the floral clippers to trim the ends of the stems.
- Tape the stems together with floral tape, with the same method as above.
- You can use the same ribbon as you did for the groom’s boutonniere (cut to 8″ in length)
- Wrap with stems with ribbon overlapping ribbon, until no floral tape can be seen.
- Pin the end of the ribbon (be careful with this part)
- Attach with a boutonniere pin – and your groomsmen’s boutonniere is ready!
Things To Consider When Making A Boutonniere With Ribbon
There’s several aspects to keep in mind when choosing the supplies for your boutonniere. Let’s take a look at the most important ones!
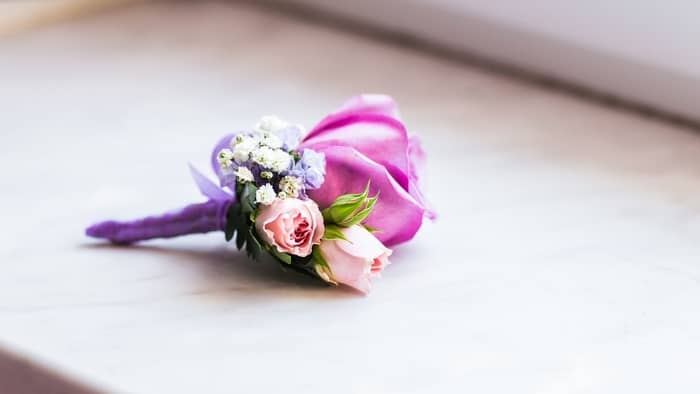
- Choosing Flowers. Small, dainty flowers are the best choice, as opposed to larger blooms. Some suggestions are spray roses and pansies. Having a little greenery is important too!
- Do Not Make Too Early. While it can be time-consuming and you may be desperate to finish ASAP, it’s best to wait until the evening before your wedding. Leave somewhere cool or dry, or ideally in a shallow glass of water. This will keep your boutonniere as fresh as possible.
- Practice. Buy enough materials so you can practice first – you want to make picture-perfect arrangements, which may take a few attempts to get right.
- Look for Inspiration. You can draw inspiration from anywhere for the style of your boutonnieres, but Brides has an amazing article, which has 50 Groom Boutonniere Ideas! It’s definitely worth taking a look.
Conclusion
I hope this article has helped you learn how to make a boutonniere with ribbon. I bet it’s easier than you first thought! While it may be time-consuming and will take some patience – it’s a great activity to do the night before the wedding to calm those wedding nerves! And something you and your partner may like to do together to add that personal touch to your special day.
Did you make your own boutonnieres for your wedding? Or are you planning too? Please let me know. If you have any top tips or tricks to make the perfect buttonholes – feel free to leave any suggestions in the comments below. You may be helping out future Brides and Grooms with their own weddings!
Read more about Can You Wear Sequins To A Wedding: Wedding Do’s and Don’ts